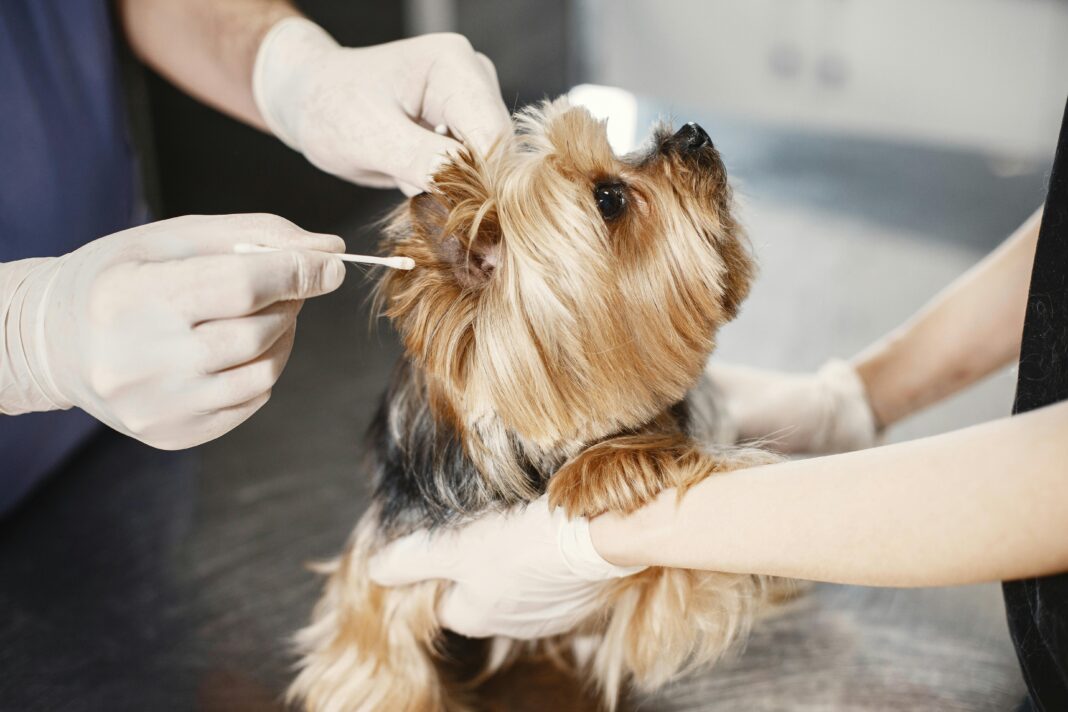
Keeping your pet healthy is a top priority for any responsible pet owner. One critical aspect of pet health care that often goes overlooked is ear cleaning. Regularly cleaning your pet’s ears can prevent serious infections and other health issues. This guide will provide you with essential tips for safely cleaning your pet’s ears.
Understanding Why Ear Cleaning is Important
Causes of Ear Problems
Pets, especially dogs and cats, can suffer from various ear problems due to wax buildup, infections, or allergies. Common causes include:
-
- Excessive Wax Production: Certain breeds, particularly those with floppy ears, are prone to wax accumulation.
-
- Infections: Bacterial or yeast infections can develop in dirty ears, leading to further complications.
-
- Allergens: Pollen, dust, and food allergies can cause inflammation, leading to ear issues.
Symptoms of Ear Problems
Being able to identify symptoms early can save your pet from significant discomfort. Common signs include:
-
- Head Shaking: Frequent shaking or tilting of the head can indicate discomfort.
-
- Scratching: Your pet may scratch at its ears or rub its head against surfaces.
-
- Odor: A foul smell from the ears is often a sign of infection.
-
- Discharge: Any unusual discharge, such as pus, or a loud buildup of wax should be addressed immediately.
Diagnosis: When to Seek Professional Help
Before starting any cleaning routine, it’s essential to know when to consult a veterinarian. If you notice persistent symptoms or if your pet seems to be in pain, a vet visit is necessary. They can conduct a thorough examination and provide a proper diagnosis.
Preparing for Ear Cleaning
Gather Your Supplies
Before you begin cleaning your pet’s ears, ensure you have the following supplies ready:
-
- Ear Cleaner: Choose a vet-recommended or specialized ear cleaning solution.
-
- Cotton Balls or Pads: Avoid using cotton swabs, as these can push dirt farther into the ear canal.
-
- Towel: To catch any mess and keep your pet comfortable.
-
- Treats: Reward your pet before and after the cleaning process to create a positive experience.
Create a Safe Environment
Choose a calm spot in your home for this process, free from distractions. Make sure you have enough light to see into your pet’s ears clearly. You may want to have someone help you keep your pet calm during the process.
How to Safely Clean Your Pet’s Ears
Step-by-Step Cleaning Process
-
- Examine the Ears: Before applying any cleaner, look into your pet’s ears for signs of infection. If you see redness, swelling, or unusual discharge, consult your vet first.
-
- Apply the Ear Cleaner: Hold your pet’s ear flap upright. Squeeze a few drops of the ear cleaner into the ear canal without letting the tip touch the ear, to prevent any contamination.
-
- Massage the Base of the Ear: Gently massage the base of the ear for about 30 seconds. You should hear a squishing sound — this indicates the cleaner is working its way through the ear.
-
- Let Your Pet Shake It Out: Allow your pet to shake its head. This will help dislodge debris and excess cleaner. Make sure to have a towel ready to catch any mess.
-
- Wipe with Cotton: Use a cotton ball or pad to gently wipe away any excess cleaner and debris from the outer ear. Never insert anything deep into the ear canal.
-
- Reward Your Pet: After you’re done, treat your pet to a favorite snack. This helps associate ear cleaning with positive experiences.
Frequency of Ear Cleaning
How often you should clean your pet’s ears depends on their breed and lifestyle:
-
- Dogs with Floppy Ears: Needs regular cleaning, about once every two weeks.
-
- Short-Haired Breeds: A cleaning every month may suffice.
-
- Cats: Generally require less frequent cleaning unless they are prone to ear issues.
Preventing Ear Problems
Regular Check-Ups
Routine vet visits should include ear examinations. Catching issues early can prevent more severe infections.
Keep Ears Dry
After baths or swimming, make sure to dry your pet’s ears properly. Moisture can create an ideal environment for infections.
Pay Attention to Allergies
If your pet is prone to allergies, manage them through diet and proper treatments, as these can affect their ear health.
Practical Tips for Stress-Free Cleaning
-
- Start Early: Train your pet to accept ear cleaning from a young age. This is especially significant if you have a puppy or kitten.
-
- Stay Calm: Your attitude matters. If you are calm and confident, your pet is more likely to relax during the process.
-
- Use Positive Reinforcement: Encourage your pet with treats and praise to establish a routine that is not stressful.
Final Thoughts
Cleaning your pet’s ears should be an integral part of their grooming routine. By understanding the importance of ear health, recognizing symptoms, and following safe cleaning practices, you can help maintain your pet’s overall well-being. Remember, when in doubt, consult your veterinarian for guidance tailored to your specific pet.


